
Skim coating concrete is like giving your walls or floors a brand-new canvas. It’s a simple yet transformative process that smooths out imperfections.
Whether you’re tackling a home renovation project or just looking to refresh your space, learning it can save you both time and money.
In this article, we’ll dive into the basics and guide you through the steps to achieve a smooth surface that’s ready for any decorative touch.
Let’s begin!
Can you skim the coat over existing concrete?

Yes, you can skim coat over existing concrete.
A skim coat is a thin layer of cement-based material that you can apply directly over the existing concrete to smooth out imperfections, create a new surface, or level out the area.
However, you’ll need to clean the surface and repair any major damage before applying the skim coat for the best results.
How to Skim Coat Concrete
1. Prepare the Surface
Firstly you should clean the concrete surface thoroughly. Ensure to remove all dirt, debris, grease, and any peeling paint.
You can use a pressure washer for outdoor surfaces or a stiff brush and detergent for indoor areas.
It’s crucial that the surface is clean to ensure good adhesion of the resurfacing product.
2. Choose the Right Resurfacing Product
In the second step select a concrete resurfacing product suitable for your project’s needs. Products like Rapid Set Newcrete are designed for easy application and durability.
Also, you have to consider the finish and working time of the product to ensure it matches your project requirements.
3. Mixing the Product
Mix the resurfacing product according to the manufacturer’s instructions until you achieve a smooth, pancake batter-like consistency.
This usually involves adding a specific amount of water to the product and mixing thoroughly with a paddle mixer attached to a drill.
Achieving the right consistency is key for easy application and optimal performance.
4. Pre-wet the Surface
In the fourth step you have to lightly dampen the concrete surface before applying the resurfacing product.
This step helps prevent the substrate from drawing water out of the mix too quickly, which can affect adhesion and curing.
You can use a spray bottle or hose to lightly mist the surface, and ensure it’s damp but not puddling.
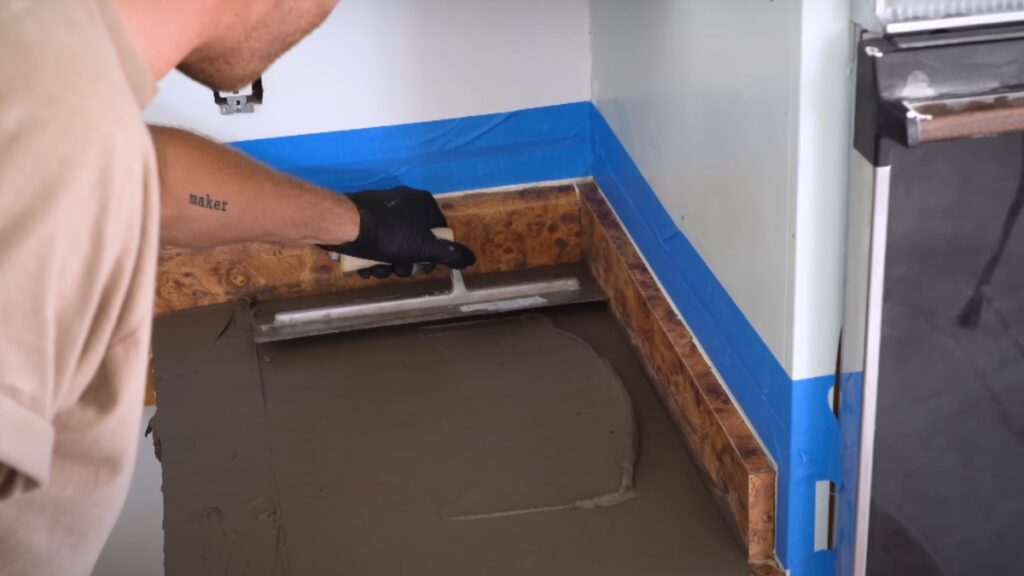
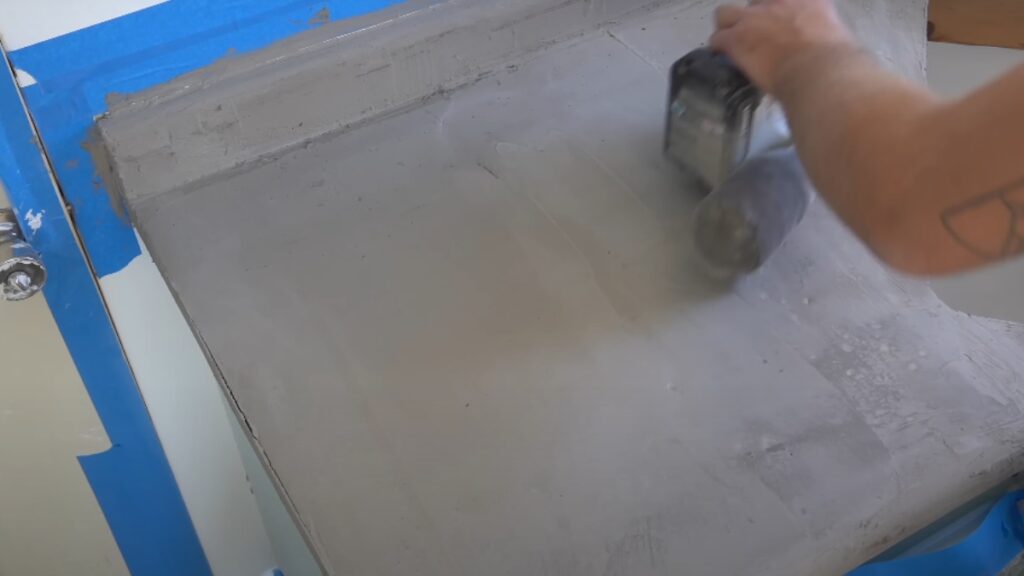
5. Apply the Resurfacing Product
Pour the mixed resurfacing product onto the concrete surface, start at one end and work your way to the other.
Use a squeegee, trowel, or long-handled spreader to spread the material evenly over the surface.
Aim for a thickness of about 1/8 inch, unless the product instructions specify otherwise. Work in manageable sections to maintain a wet edge.
6. Texturing (Optional)
For outdoor surfaces where slip resistance is important, or to add a decorative texture, you can apply a broom finish.
Once the resurfacer has been applied and is still pliable, gently drag a broom across the surface to create a textured finish.
This step is optional and based on personal preference or safety considerations.
7. Curing
Allow the resurfacing product to cure as per the manufacturer’s instructions. Curing times can vary, but many products are ready for light foot traffic within a few hours.
Avoid heavy traffic or placing furniture on the surface for the time recommended by the product, which could be up to 24-48 hours for full strength.
8. Sealing (Optional)
Lastly, applying a concrete sealer after the resurfacing product has fully cured is optional but recommended for outdoor surfaces.
A sealer will protect the surface from moisture, stains, and wear, extending the life of your skim coat.
You can apply the sealer with a roller or sprayer according to the manufacturer’s instructions.
Common Mistakes When Skim Coating Concrete
One common mistake when skim coating concrete is not properly preparing the surface before application.
This includes failing to clean the concrete effectively, which can prevent the skim coat from adhering well, leading to issues like peeling or cracking.
Another error is applying the coating too thickly in one go; it’s better to apply multiple thin layers, which dry more uniformly and reduce the risk of cracks.
Some might overlook the importance of mixing the coating to the right consistency, which is key for a smooth application.
It’s crucial to follow the manufacturer’s directions for mixing and drying times for the best results.
Finally, neglecting to cure the concrete slowly can cause quick drying, which might compromise the skim coat’s durability.
Aftercare Tips for Skim-Coated Concrete Surfaces
Firstly you should allow the surface to cure properly; this usually takes at least 24 to 48 hours. During this time, you should keep it dry and avoid placing any heavy objects on it.
After curing, routinely sweep the surface to remove debris. For spills or stains, you can use mild soapy water and a soft-bristled brush, but be gentle to avoid scratching the coating.
Every few months you can also apply a sealant that’s suitable for concrete surfaces to protect against moisture and wear.
Lastly, if you notice any cracks or chips over time, it’s important to repair them quickly to prevent further damage.
What Are Benefits of Skim coating
1. Cost-Effective Solution
Skim coating is a cost-effective way to rejuvenate and enhance the appearance of concrete surfaces without the need for complete replacement.
It offers an economical alternative to more expensive renovation options, providing significant savings while achieving a fresh, new look.
2. Smoother Surface
Applying a skim coat smooths out imperfections, bumps, and ridges on concrete surfaces, resulting in a flat, smooth finish.
This is particularly beneficial for interior floors and walls, where a smooth finish is desired for aesthetic reasons or before applying paint or other finishes.
3. Improved Aesthetics
A skim coat can dramatically improve the visual appeal of old, worn-out concrete by covering stains, discolorations, and minor cracks.
It creates a uniform surface that can make spaces feel brighter and more inviting.
Moreover, it can be tinted or used as a base for decorative treatments, offering versatility in design options.
4. Easy Preparation for Further Finishing
Once applied and properly cured, a skim-coated surface is an ideal base for painting, wallpapering, or applying other types of finishes.
The smooth and uniform surface ensures that paint and other materials adhere better and look more consistent.
How thick can you skim coat concrete?
Typically, a skim coat can be as thin as 1/16 inch to a maximum of 1/8 inch.
The purpose of such a thin coat is to smooth out the surface or fill in minor imperfections, rather than to add structural thickness.
Can you skim coat fresh concrete?
Yes, you can skim coat fresh concrete, but it’s typically recommended to let the concrete set a bit first.
Skim coating, also known as a micro-topping, is applied as a thin layer which can give the concrete a new surface.
However, for the best results, you should wait until the initial concrete has cured enough to be stable, but not fully hardened, usually after 24 to 48 hours, before applying a skim coat.